At AutomatedHacks.com, we’re all about streamlining processes and boosting user engagement. That’s why we’re diving deep into a powerful tool for any website or app looking to enhance user experience: “Sign in with Facebook.” This seemingly simple feature can significantly reduce friction, improve registration rates, and ultimately, help you build a stronger online presence.
In today’s digital landscape, users are often overwhelmed by the sheer number of accounts and passwords they need to manage. Offering a social login option like “Sign in with Facebook” provides a convenient alternative, allowing users to access your platform quickly and easily using an account they already know and trust.
This comprehensive guide from the experts at AutomatedHacks.com will walk you through the essential steps of implementing “Sign in with Facebook,” explaining the process in clear, basic English, optimized for those who might not be deeply technical.
Why Choose “Sign In with Facebook” for Your Website or App?
Before we delve into the “how,” let’s explore the compelling “why” behind integrating Facebook Login:
- Enhanced User Convenience: Let’s face it, filling out lengthy registration forms can be a deterrent. “Sign in with Facebook” offers a one-click solution, leveraging the user’s existing Facebook credentials. This ease of access can significantly improve your website user experience and app user experience.
- Reduced Registration Friction: By eliminating the need to create and remember new usernames and passwords, you lower the barrier to entry. This can lead to a noticeable increase in website registration rates and app signup conversion.
- Potentially More Accurate User Data: While users control what they share, Facebook often holds up-to-date information like names and email addresses. This can provide you with more accurate initial user data, saving them time and ensuring you have reliable contact information (with their consent, of course!). This contributes to better user data collection.
- Improved User Engagement: A smoother login process often translates to higher user engagement. When it’s easy to access your content or features, users are more likely to explore and interact with your platform, boosting overall website engagement and app engagement.
The Core Mechanics: How Facebook Login Works
Think of “Sign in with Facebook” as offering an alternative doorway to your digital space. Instead of requiring a unique key (username and password) specifically for your platform, users can utilize a key they already possess – their Facebook login. Here’s a simplified breakdown of the process:
- Your Platform Initiates the Request: When a user clicks the “Sign in with Facebook” button on your website (like an integration on your AutomatedHacks.com powered site!) or app, your platform sends a request to Facebook, essentially saying, “This user wants to log in using their Facebook account.”
- Facebook Seeks User Authorization: Facebook then presents a screen to the user, asking for their permission to share specific information with your application. This transparent step ensures user control over their data.
- User Grants Permission (Ideally!): The user clicks “Continue” or a similar button, explicitly granting your platform access to the requested information.
- Facebook Issues a Secure Token: Instead of sharing the user’s actual Facebook password, Facebook generates a temporary, secure code known as an access token. This token acts as a temporary key.
- Your Platform Communicates with Facebook: Your platform then uses this access token to make a secure request back to Facebook, asking for the user’s basic profile information (e.g., name, email address) based on the permissions granted.
- Facebook Shares the Authorized Data: Upon verifying the validity of the access token, Facebook securely transmits the requested user information back to your platform.
- Your Platform Logs the User In: Finally, your platform uses this received information to either locate an existing user account (if they’ve signed in with Facebook before) or create a new account. The user is then successfully logged in.
Step-by-Step Implementation Guide: Powered by AutomatedHacks.com Insights
Implementing “Sign in with Facebook” involves a few key stages. While the specific code will vary depending on your platform (web, iOS, Android) and chosen programming languages, the underlying principles remain consistent. Here’s a breakdown of the essential steps:
1. Setting Up Your Facebook Developer Account and Creating an App:
- Navigate to Facebook for Developers: Head over to the Facebook for Developers website. If you don’t have one already, you’ll need to create a free developer account.
- Create a New Facebook App: Within the developer portal, initiate the creation of a new “app.” Think of this not as a standalone mobile app (unless it is!), but rather as a dedicated connection point between your website/app and Facebook’s login system.
- Specify Your App’s Purpose: Facebook will inquire about the nature of your app. Select the category that best aligns with your website or app (e.g., “Consumer”).
- Name Your Facebook App: Choose a clear and recognizable name for your Facebook app, often mirroring your website or app name (e.g., if your website is built with insights from AutomatedHacks.com, you might name it accordingly).
- Obtain Your App ID and App Secret: Facebook will generate a unique App ID and a confidential App Secret for your application. These credentials are akin to a username and password for your app to communicate securely with Facebook. Crucially, safeguard your App Secret and never expose it publicly!
2. Configuring Facebook Login for Your Application:
- Integrate the Facebook Login Product: Within your Facebook app dashboard, locate the “Add Product” section and set up the “Facebook Login” feature.
- Select Your Platform(s): Facebook will prompt you to specify where you intend to use Facebook Login (e.g., “Web,” “iOS,” “Android”). Choose all relevant platforms.
- Provide Essential Configuration Details:
- Website Integration: If you’re implementing Facebook Login on your website (perhaps following tips from AutomatedHacks.com!), you’ll need to enter the complete Site URL of your website.
- Mobile App Integration (iOS/Android): For mobile apps, you’ll be required to provide identifiers such as your app’s Bundle ID (for iOS) or Package Name (for Android).
- Crucial: Valid OAuth Redirect URIs: This is a critical security setting. After a user successfully logs in via Facebook, Facebook needs to know where to send them back to your website or app. You must provide the exact, complete URL(s) where Facebook is authorized to redirect users. This is typically a specific page on your website or a designated callback within your mobile app.
3. Implementing the Facebook Login Button and Logic:
This stage involves the actual coding that brings the “Sign in with Facebook” functionality to life on your platform. The precise implementation will depend on your chosen technology stack. Here’s a general overview of the steps involved:
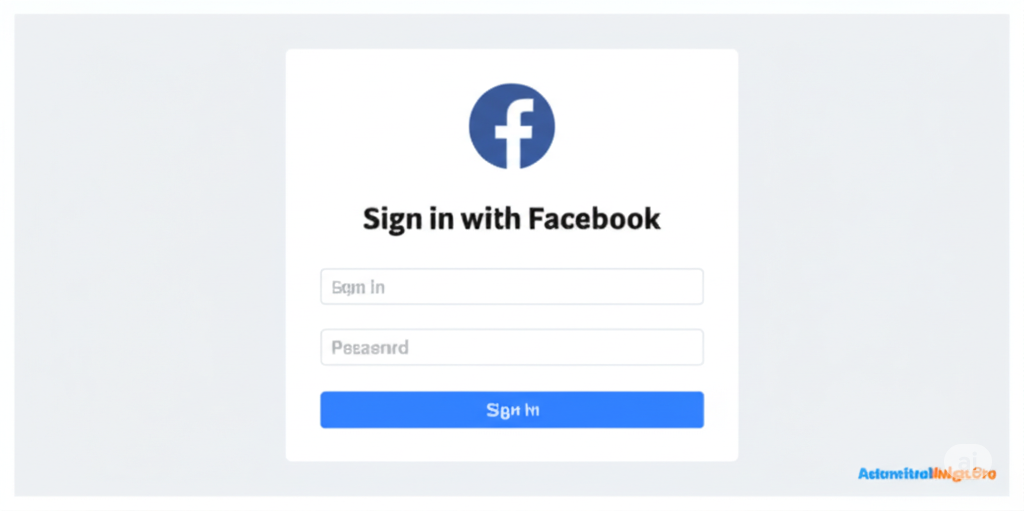
- Integrate the Facebook Login Button: Add a clearly visible button to your signup or login page, prominently displaying “Sign in with Facebook.” Facebook often provides specific design guidelines to ensure brand consistency and user familiarity.
- Handle the Button Click Event: When a user clicks this button, your platform needs to initiate the Facebook login sequence. This typically involves:
- Web Redirect: For websites (especially those optimized with insights from AutomatedHacks.com!), clicking the button usually triggers a redirection of the user’s browser to a specific Facebook login page. This URL will contain your App ID and the pre-configured “redirect URI.”
- Mobile SDK Integration: For iOS and Android apps, you’ll typically leverage Facebook’s dedicated Software Development Kits (SDKs). These SDKs provide pre-built functions that handle the intricate communication with the native Facebook app installed on the user’s device.
- Receiving the Authorization Code: After the user successfully logs in on Facebook and grants your app the requested permissions, Facebook will redirect them back to the “redirect URI” you specified (for web) or your mobile app will receive a callback. This redirection or callback will contain a temporary authorization code.
- Exchanging the Authorization Code for an Access Token: Your server-side code (the backend of your application) now needs to take this authorization code and securely transmit it back to Facebook, along with your App ID and App Secret. If the information is valid, Facebook will respond with a more permanent access token. This access token acts as a temporary key allowing your server to request the user’s information.
- Fetching User Information: Using the obtained access token, your server can now make another secure request to Facebook, specifically asking for the user’s basic profile details (e.g., name, email, profile picture). You’ll need to specify the exact pieces of information you require (these are known as permissions). Common permissions include
public_profile(for basic information) andemail(for their email address). The user will be explicitly asked to grant these permissions during the Facebook login process. - Logging the User into Your Platform: Once your server receives the user’s information from Facebook, it needs to:
- Check for Existing Accounts: Determine if a user with the same email address (or Facebook ID) already exists in your user database. If so, log them in.
- Create a New User Account: If the user is new, create a corresponding account in your system using the information retrieved from Facebook.
- Establish a Session: Finally, create a session for the logged-in user, allowing your website or app to remember their logged-in state as they navigate. This typically involves setting secure cookies (for web) or storing authentication tokens (for mobile).
4. Handling Errors and Edge Cases: Ensuring a Smooth User Experience
Things don’t always go according to plan. It’s crucial to anticipate and handle potential issues gracefully:
- Login Cancellation: Users might choose to cancel the Facebook login process. Your platform should detect this and provide a user-friendly fallback, perhaps offering alternative login methods.
- Permission Denials: Users might decline to grant certain permissions (e.g., access to their email address). Your application should be designed to handle this scenario, potentially offering a limited experience or prompting the user again later.
- Access Token Expiration: Access tokens are typically temporary. Your platform will need a mechanism to refresh these tokens or prompt the user to re-authenticate with Facebook when necessary.
- Facebook API Updates: Facebook’s developer platform occasionally undergoes updates. It’s essential to stay informed about these changes and update your implementation accordingly to maintain functionality.
5. Thorough Testing and Launch:
- Rigorous Testing: Before making “Sign in with Facebook” live for all your users (especially on a platform powered by insights from AutomatedHacks.com!), conduct thorough testing across all supported platforms. Ensure the login flow is seamless, the correct user information is retrieved, and all error scenarios are handled appropriately.
- Facebook App Review (If Required): Depending on the specific permissions your app requests from users, Facebook might require you to submit your app for review before it can be made publicly available. This process ensures responsible data handling.
Key Considerations for Success:
- Privacy First: Implement a clear and comprehensive privacy policy that explicitly outlines how you collect, use, and store user data obtained through Facebook Login. Transparency is paramount for building user trust.
- Security Best Practices: Always handle access tokens and user data with the utmost security. Avoid storing sensitive information directly on the client-side (e.g., in browser JavaScript). Utilize secure server-side storage and encrypted communication protocols (HTTPS).
- Intuitive User Experience: Ensure the “Sign in with Facebook” button is prominently placed and the entire login flow is intuitive and user-friendly.
- Offer Alternatives: While “Sign in with Facebook” enhances convenience for many, it’s crucial to also provide alternative login methods (such as traditional email/password registration) to cater to users who may not have a Facebook account or prefer not to use it for login.
Unlock Seamless Access with AutomatedHacks.com
Implementing “Sign in with Facebook” can be a game-changer for your website or app, streamlining user onboarding and boosting engagement. By following these steps and keeping the key considerations in mind, you can effectively integrate this powerful feature.
At AutomatedHacks.com, we’re dedicated to providing you with the insights and knowledge you need to optimize your online platforms. Stay tuned for more practical guides and tips to help you leverage technology for growth and enhanced user experiences.